Part 2: Design Mistakes That Will Ruin Your Doll (And How to Fix Them)
This article is the second chapter of our Custom Doll Guide.
Let’s be real: there is nothing worse than waiting weeks for a sample, only to open the box and find a doll that looks... well, weird. 😭
Factory rejections and "off-looking" faces usually happen because of a few common traps. The good news? They are super easy to avoid if you know what to look for. Let’s save you some time and money.
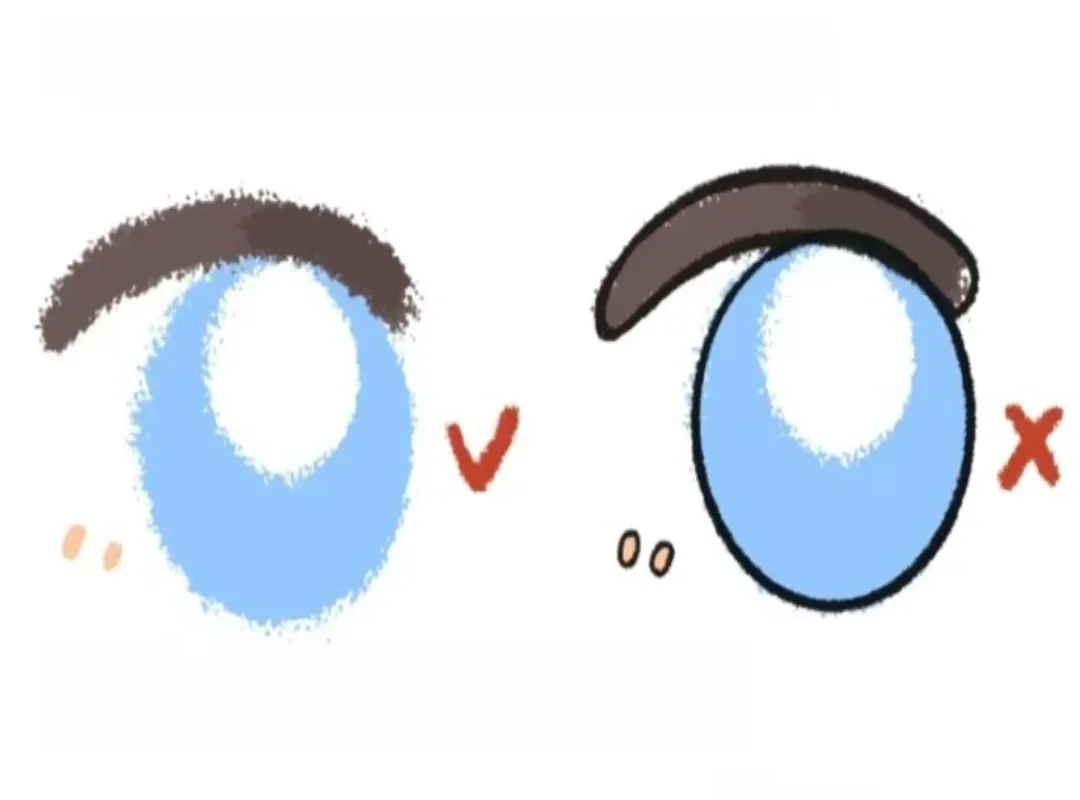
Do’s & Don’ts: The "Line Width" Trap
Embroidery thread isn't a pen. It has thickness. If you draw lines that are too thin or complex, the machine will turn them into a messy blob.
Think "Icon," not "Sketch." Bold, confident shapes look cleaner and cuter when embroidered.
Thin, scratchy lines? They will either disappear or distort completely.
The "Color Bomb" Mistake
Stick to a palette of 9 colors or less. It keeps costs down and quality up.
Using 15+ colors creates a chaotic production process and increases the risk of errors.
The #1 Rule You Must Follow
If you only remember one thing from this guide, make it this:
Before sending your file, print it out on paper at the actual physical size of the doll face (usually 10cm wide). If the details look muddy on paper, they will look even worse in thread.
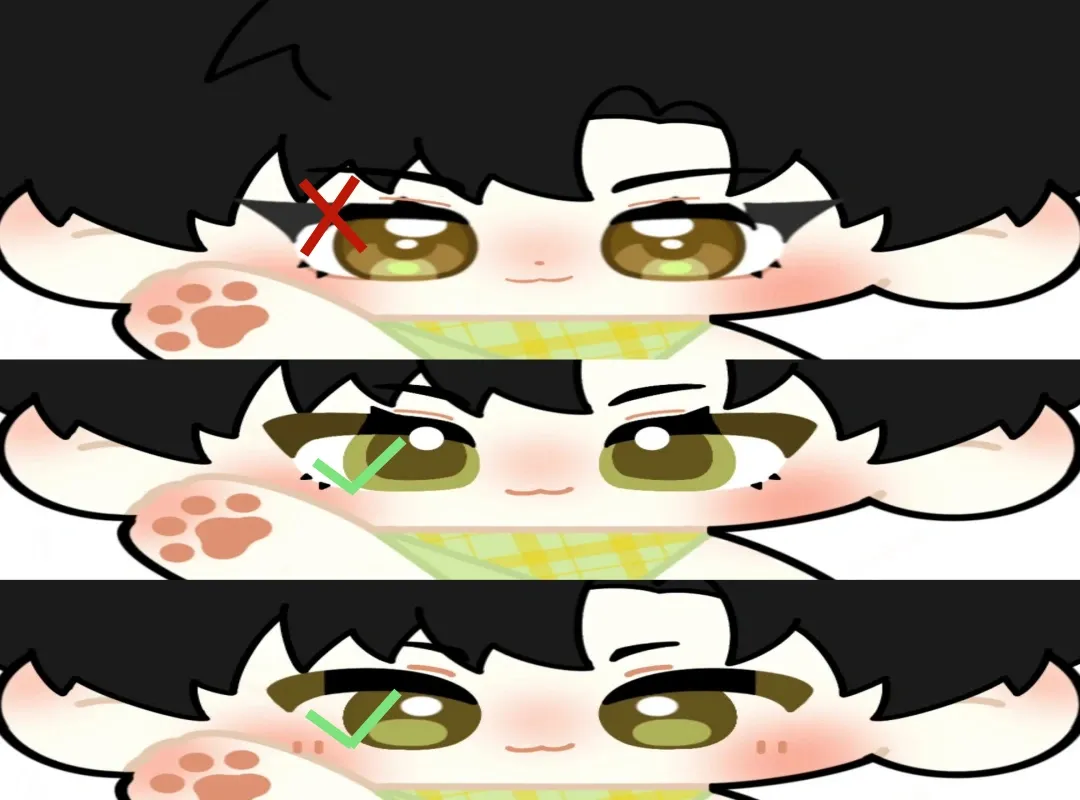
Facial Features: Less is More
It's tempting to add sparkling anime eyes with 5 different highlights, but in plush form, clarity is king.
One or two eye highlights are enough to give the doll "life."
Too many tiny details in the eyes will just look like white noise when stitched.
Pro Tip: Keep the Background Clean
Avoiding these simple mistakes is 90% of the battle. Now that your design is clean and factory-ready, it's time for the advanced stuff: making it 3D.